Bathroom Ceiling Paint Peeling Repair
Are you tired of dealing with peeling paint on your bathroom ceiling? Not only is it unsightly, but it could also be a sign of underlying moisture problems. In this article, we will guide you through effective solutions to fix peeling paint in your bathroom ceiling. By following these steps, you can ensure a long-lasting and aesthetically pleasing result.
- Peeling bathroom ceiling paint is a common problem that can be caused by various factors such as high humidity levels, poor ventilation, water leaks, and inadequate surface preparation
- Before repairing peeling paint, you need to identify the root cause of the problem
- Proper preparation is crucial before undertaking any repair work
- Choosing the right type of paint is essential for preventing future paint peeling
- Maintaining your bathroom ceiling paint over time will prolong its longevity
Understanding the Causes of Peeling Bathroom Ceiling Paint
If you’re dealing with peeling bathroom ceiling paint, it’s important to first understand the underlying causes to effectively address the issue. Common culprits include high humidity levels, poor ventilation, water leaks, and inadequate surface preparation.
High humidity levels can cause moisture to accumulate on your bathroom ceiling, leading to paint peeling. Poor ventilation can exacerbate this issue, trapping moisture inside and preventing it from evaporating. Water leaks can also contribute to peeling paint, as they introduce excess moisture into the area.
Inadequate surface preparation can also cause problems with your bathroom ceiling paint. If the surface is not properly cleaned and primed before painting, the paint may not adhere properly and peel over time.
By identifying the root cause of your peeling paint, you can determine the most effective solution for your specific situation. In the next section, we will discuss the necessary preparation steps to repair your bathroom ceiling paint.
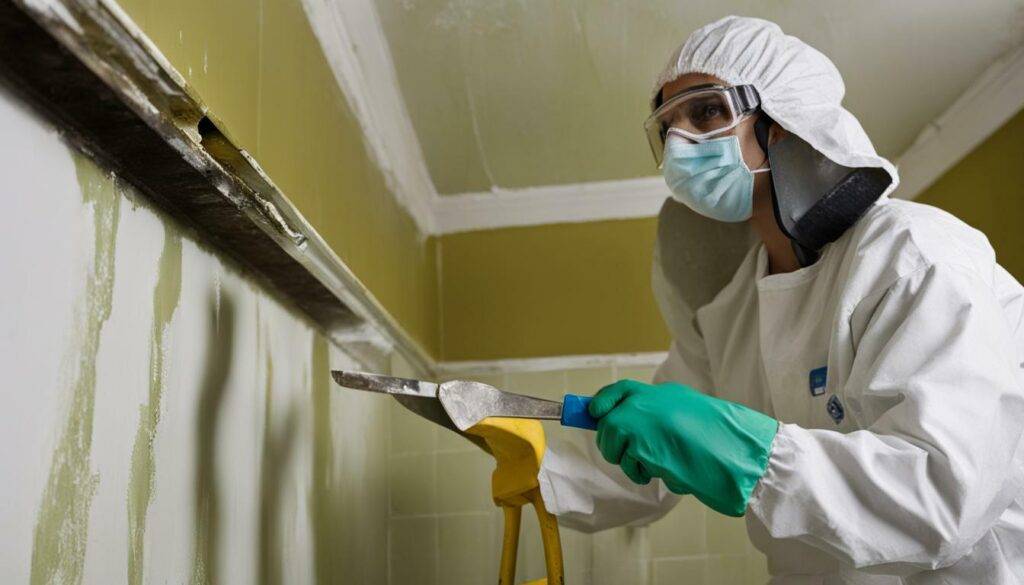
If you’re planning on repairing the peeling paint on your bathroom ceiling, it’s important to properly prepare the surface before you begin. This will not only help ensure a smooth and even finish, but it will also help the new paint adhere properly. Follow these steps to prepare your bathroom ceiling:
- Start by cleaning the surface thoroughly with a mild cleaner and a scrub brush. Be sure to remove any dirt, grime, or mildew that may have accumulated on the surface. Rinse the surface with clean water and allow it to dry completely.
- Next, use a scraper or putty knife to remove any loose or peeling paint from the ceiling. Be sure to wear gloves and safety glasses to protect yourself from any debris or dust.
- If you notice any cracks or holes in the ceiling, be sure to fill them with spackle or joint compound. Use a putty knife to apply the spackle, and then sand it smooth once it has dried.
- Once the surface is clean and smooth, use a high-quality primer to prepare the surface for painting. This will help the new paint stick to the ceiling and prevent future peeling. Apply the primer according to the manufacturer’s instructions and allow it to dry completely.
- Finally, you’re ready to apply the new coat of paint to your bathroom ceiling. Be sure to choose a high-quality, moisture-resistant paint that is specifically designed for use in bathrooms. Apply the paint with a roller or brush, using long and even strokes for a smooth and professional-looking finish.
With these preparation steps, you’ll be able to successfully repair the peeling paint on your bathroom ceiling and enjoy a long-lasting and aesthetically pleasing result. And with the right materials and techniques, you can even tackle this repair as a DIY project.
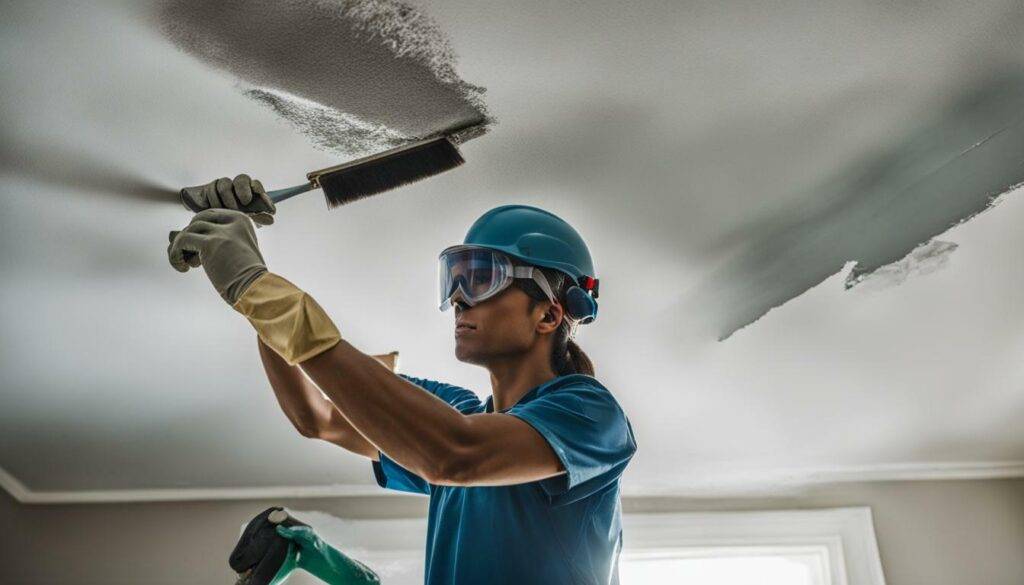
Choosing the Right Paint for Your Bathroom Ceiling
When it comes to choosing the best paint for your bathroom ceiling, there are a few important factors to consider. First and foremost, you want to select a paint that is specifically designed to resist moisture. This will help prevent future peeling and bubbling, ensuring a long-lasting and pristine finish. Look for paints labeled as “bathroom paint” or “moisture-resistant paint” for optimal results.
In addition to moisture resistance, you should also consider the finish of the paint. While matte and flat finishes are popular for their modern look, they are not the best choice for bathroom ceilings as they tend to absorb moisture and can lead to peeling. Instead, opt for a satin or semi-gloss finish as they are more resistant to moisture and easier to clean.
When it comes to color, choose a shade that complements the rest of your bathroom decor and lighting. Lighter shades reflect more light and can make your bathroom feel brighter and more spacious, while darker shades add depth and drama. Whatever color you choose, make sure it coordinates with your bathroom tiles, fixtures, and accessories for a cohesive look.
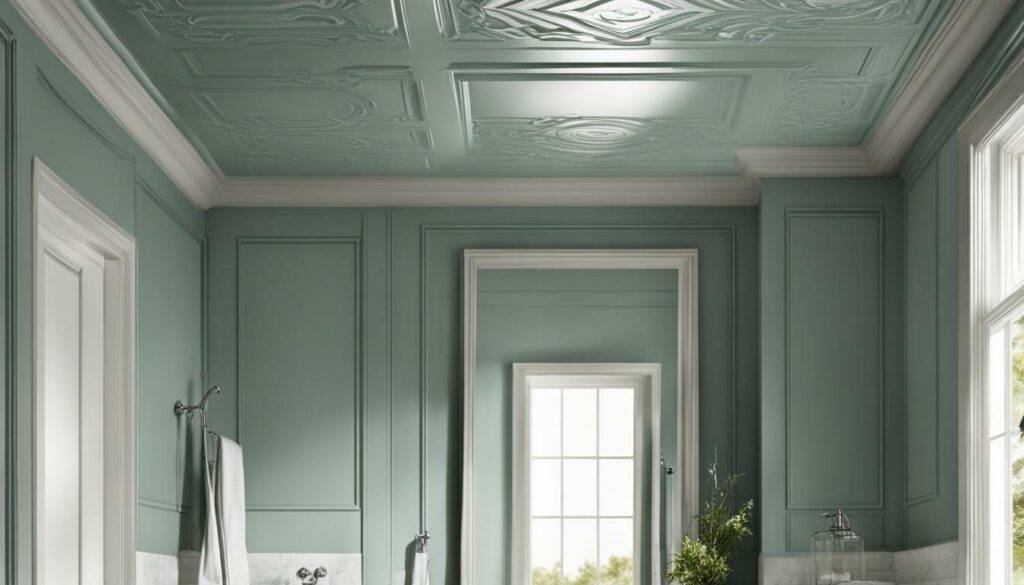
Repairing Peeling Paint on Your Bathroom Ceiling
Once you’ve prepared your bathroom ceiling, it’s time to start fixing the peeling paint. Follow these steps for the best results:
- Use a scraper or sandpaper to gently remove any loose or peeling paint.
- Wash the ceiling using a mild detergent and warm water to remove any dirt, debris, or residue.
- Allow the surface to dry completely.
- If there are any water stains or other damage, use a stain-blocking primer to cover them.
- Apply a coat of high-quality primer that is designed for use in bathrooms. This will provide an excellent foundation for the topcoat and ensure it adheres properly to the surface.
- Once the primer has dried, apply your chosen paint. Use a brush or roller to apply the paint in thin and even coats. Allow each coat to dry completely before applying the next one.
- If necessary, apply a second coat of paint to achieve the desired coverage and finish.
By painting over peeling bathroom ceiling, you can achieve a smooth and fresh-looking surface. However, if the peeling is severe or if there are underlying moisture issues, it may be best to seek the help of professionals. They have the skills and equipment to tackle any bathroom ceiling paint problems expertly and efficiently. Contact (647)504-9858 for more info and your free home painting quote or email us at info@creationbuildersinc.com.
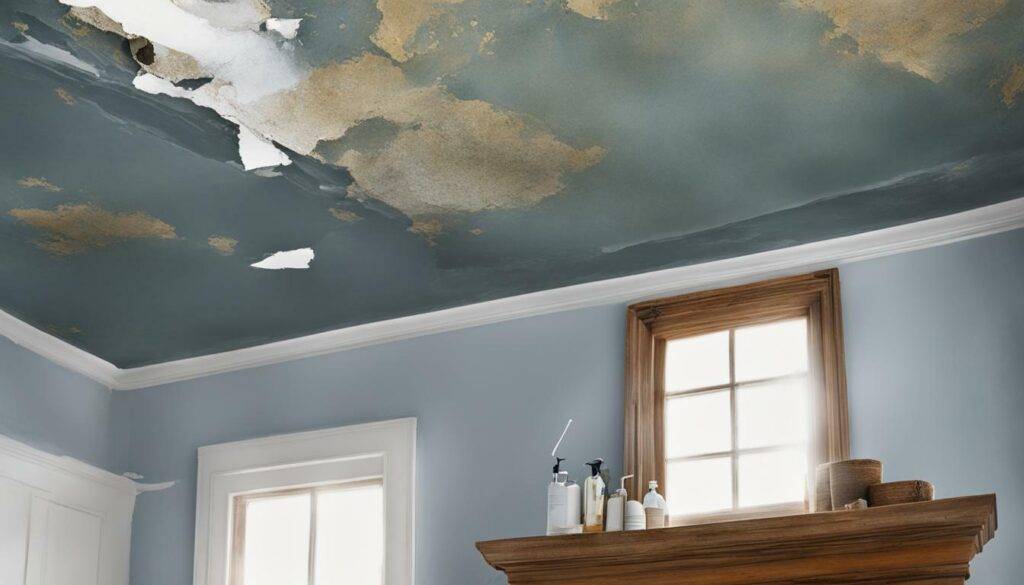
While addressing the peeling paint issue in your bathroom ceiling, it’s crucial to take steps to prevent future instances of the same. Here are some tips to help keep your bathroom ceiling paint intact:
- Improve ventilation – Ensure that your bathroom has proper ventilation, such as a fan, to reduce humidity levels. High humidity can cause moisture buildup that eventually leads to paint peeling.
- Reduce moisture – Avoid leaving wet towels or clothes in your bathroom, fix any water leaks promptly, and keep surfaces dry to prevent excess moisture from accumulating.
- Use moisture-resistant paint – As discussed earlier, using moisture-resistant paint can help prevent paint bubbling and peeling in your bathroom ceiling.
Incorporating these strategies into your bathroom maintenance routine can help ensure that your ceiling paint remains intact and looking great for years to come.
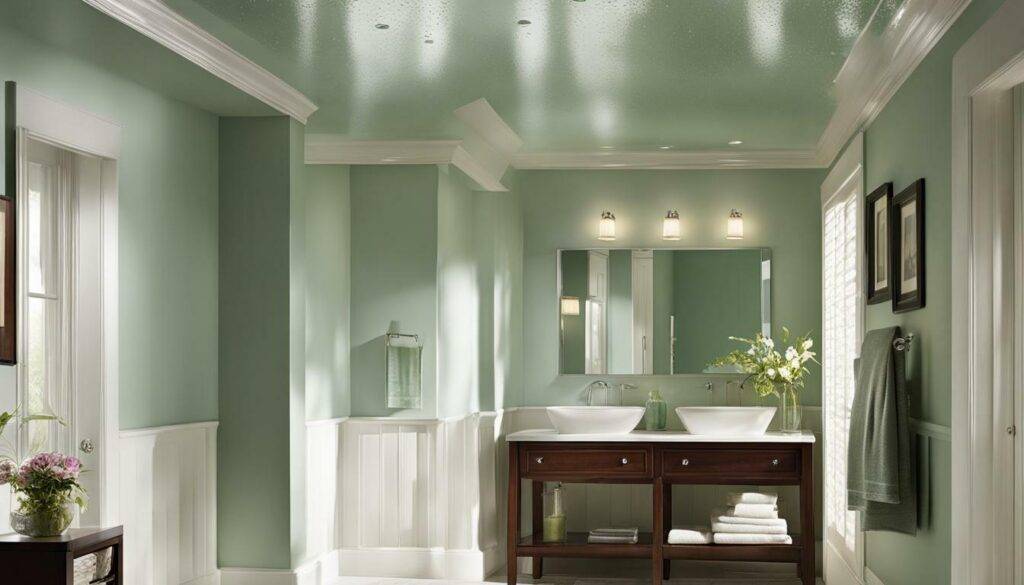
Professional Bathroom Ceiling Paint Repair Services
If you’re not confident in your DIY skills, or simply prefer to leave the job to the professionals, there are many benefits to hiring experts to fix your peeling bathroom ceiling paint. Not only can they provide a flawless and long-lasting result, but they can also identify and address underlying moisture problems that may be contributing to the issue.
Professional painters who specialize in bathroom ceiling paint repair have the knowledge, experience, and tools to ensure a successful job. They can properly prepare the surface for painting, choose the right type of moisture-resistant paint, and apply it evenly and smoothly for a beautiful finish. Plus, they can save you time and hassle by handling all aspects of the repair, from cleanup to disposal of old materials.
When looking for a painting company to repair your bathroom ceiling, be sure to do your research and choose one with a solid reputation and a track record of successful projects. Look for reviews and references from past clients, and don’t be afraid to ask for a free quote and consultation. By weighing your options and selecting a reliable and experienced professional, you can enjoy a stress-free and successful repair job.
If you’re looking for a trusted painting company in Canada to repair your bathroom ceiling paint, contact Creation Builders Inc at (647)504-9858 for more info and your free home painting quote, or email us at info@creationbuildersinc.com.
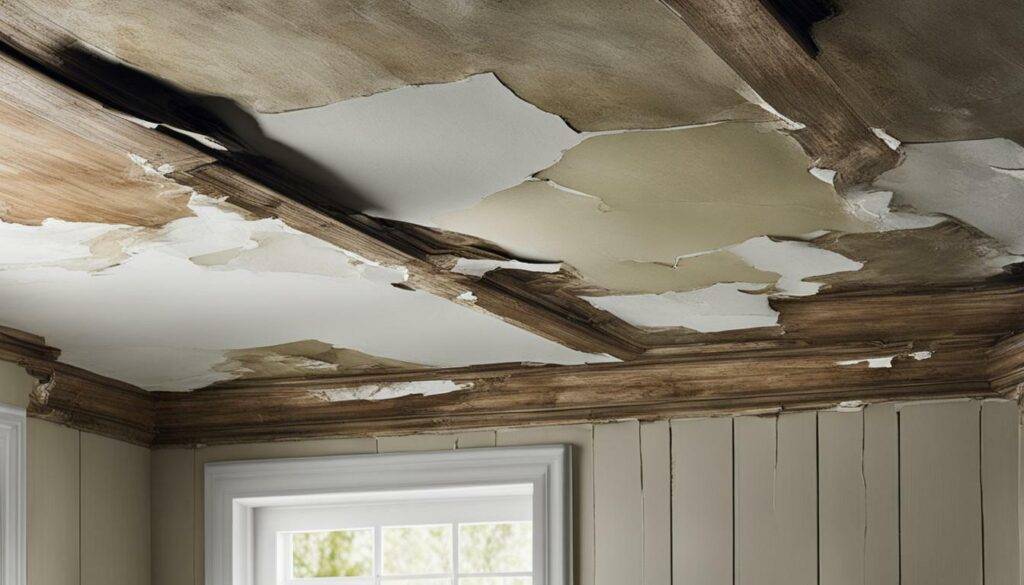
Repairing peeling paint on your bathroom ceiling can be a daunting task, but it’s important to avoid these common mistakes to ensure a successful fix. Here are some common mistakes to avoid:
- Skipping the surface preparation: Properly preparing the surface before painting is crucial for the paint to adhere properly. Make sure to clean the surface thoroughly, remove any loose paint, and sand the surface to ensure a smooth finish.
- Using the wrong type of paint: Not all types of paint are suitable for bathroom ceilings. Using a regular paint instead of a moisture-resistant one can lead to future peeling and bubbling. Choose a paint that is specifically designed for high-moisture areas.
- Ignoring the underlying cause: Peeling paint is often a sign of an underlying moisture problem. If you don’t address the root cause, the paint will continue to peel. Make sure to fix any leaks, improve ventilation, and reduce humidity in your bathroom.
- Not using a primer: Skipping the primer can lead to poor adhesion and a less durable finish. Always use a primer that is specifically designed for bathroom ceilings.
- Rushing the process: Rushing through the repair process can lead to a less-than-perfect finish. Take your time, follow the instructions, and make sure to allow enough time for each coat of paint to dry before moving on to the next.
By avoiding these common mistakes, you can ensure that your bathroom ceiling paint repair is a success and enjoy a long-lasting, aesthetically pleasing result.
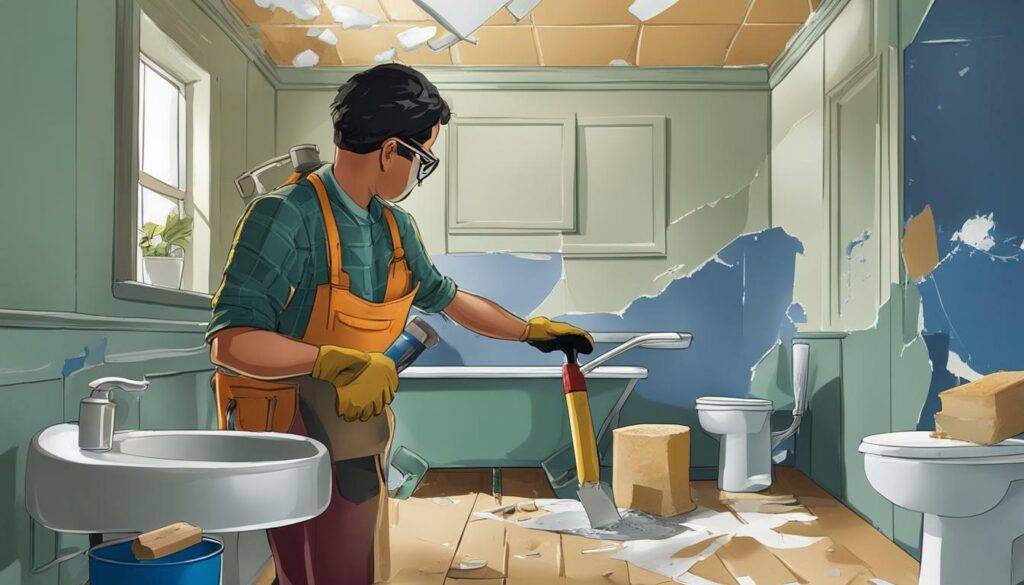
Once you have repaired and refreshed your bathroom ceiling paint, it’s important to maintain it to ensure it stays in optimal condition. Here are some tips to help you care for your bathroom ceiling paint:
- Regularly clean your bathroom ceiling with a mild detergent and water solution.
- Avoid using harsh cleaners or abrasive scrubbers that can damage the paint.
- Fix any leaks or water damage as soon as possible to prevent future peeling.
- Avoid hanging wet items, such as towels or clothing, on your bathroom ceiling.
- Use a dehumidifier or open a window to reduce humidity levels in your bathroom.
- Consider investing in a moisture-resistant paint to protect against future peeling.
By following these tips, you can maintain your bathroom ceiling paint and enjoy a long-lasting and aesthetically pleasing result.
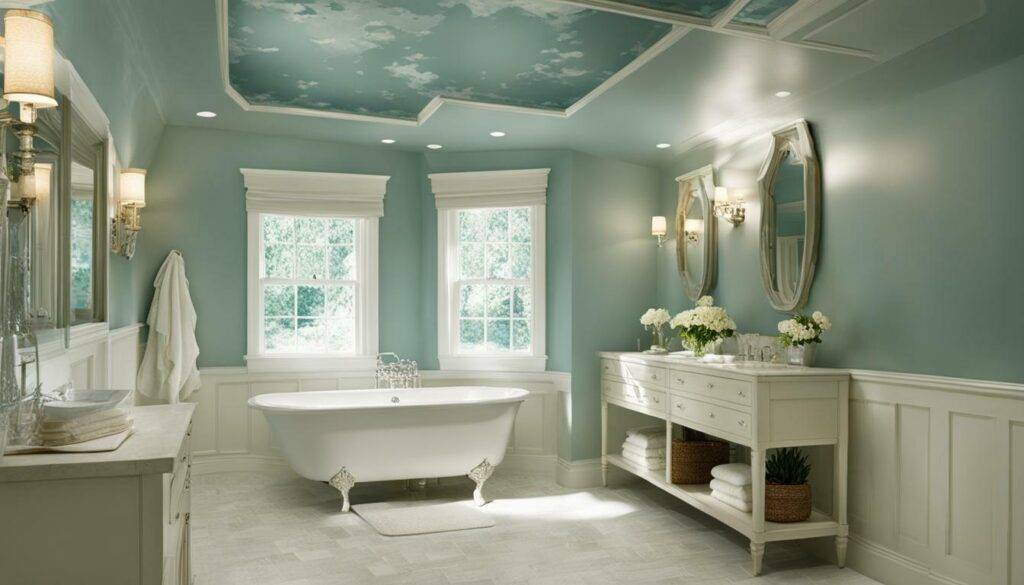
Dealing with bathroom ceiling paint peeling can be a frustrating problem for any homeowner. We hope this article has provided you with effective solutions to fix this issue and prevent it from happening in the future. Remember to properly identify the root cause, prepare the surface, and use moisture-resistant paint to protect against future peeling. Whether you choose to undertake the repair yourself or hire professionals, following these steps will ensure a beautifully painted and long-lasting bathroom ceiling.
Contact us at (647)504-9858 or email us at info@creationbuildersinc.com for a free home painting quote. Let our professional team help you address your bathroom ceiling paint problems and achieve the perfect result.
FAQ
What causes bathroom ceiling paint to peel?
Common causes of bathroom ceiling paint peeling include high humidity levels, poor ventilation, water leaks, and inadequate surface preparation.
How do I prepare my bathroom ceiling for paint repair?
Proper preparation involves cleaning the surface, removing loose paint, and ensuring a smooth and dry surface for optimal adhesion.
What type of paint should I use for my bathroom ceiling?
It is recommended to use moisture-resistant paint specifically designed for bathroom ceilings to prevent future peeling.
How do I repair peeling paint on my bathroom ceiling?
Step-by-step instructions for repairing peeling paint on your bathroom ceiling include removing loose paint, applying primer, and applying the final coat for a smooth and durable finish.
How can I prevent future paint peeling in my bathroom ceiling?
To prevent future peeling, it’s important to improve ventilation, reduce humidity, address water leaks, and use moisture-resistant paint.
Should I hire professionals for bathroom ceiling paint repair?
While DIY repairs can be effective, hiring professionals who specialize in bathroom ceiling paint repair can ensure a flawless and long-lasting result.
What are common mistakes to avoid when repairing bathroom ceiling paint?
Common mistakes to avoid include inadequate surface preparation, using the wrong type of paint, and neglecting to address underlying moisture issues.
How do I maintain my bathroom ceiling paint over time?
Proper maintenance involves regular cleaning, addressing any moisture issues promptly, and touching up any areas of paint damage.

