Dealing with Peeling Paint on Your Ceiling: Causes and Solutions
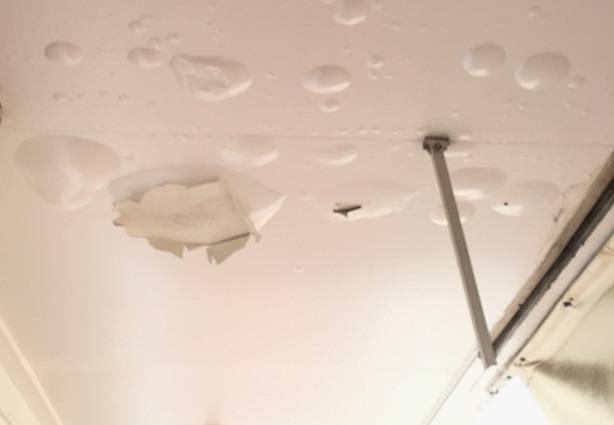
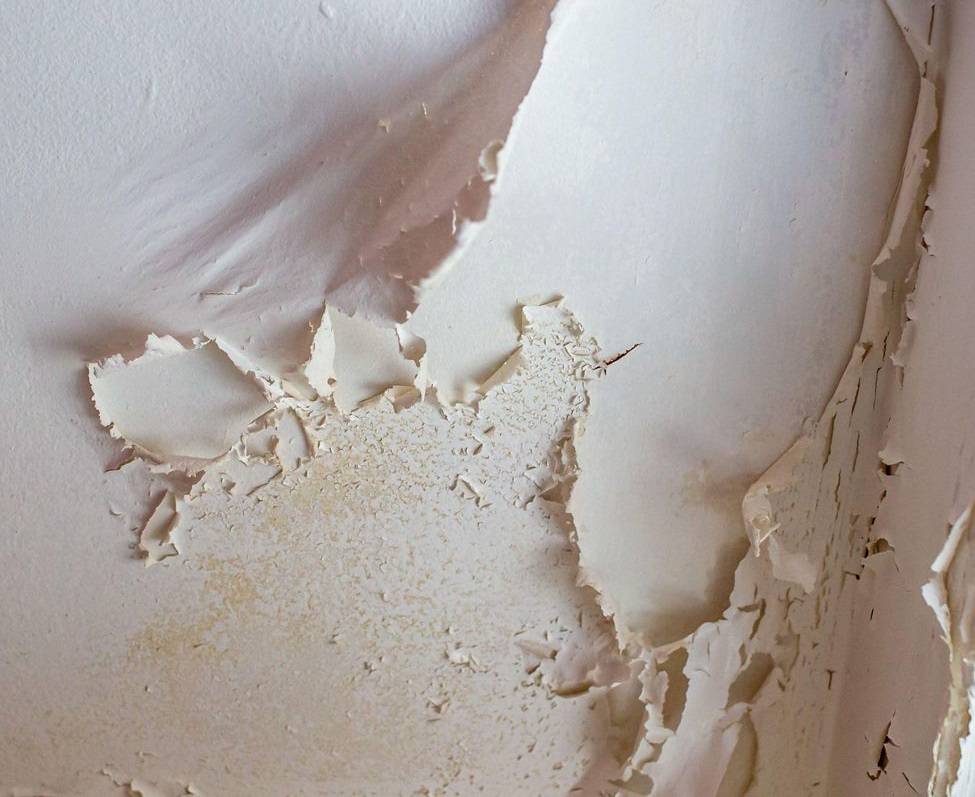
Is the paint on your ceiling peeling off or cracking like a bad case of sunburn? This common issue can turn your once-pristine walls into a shabby eyesore. If you’ve found yourself dealing with paint bubbling and peeling, fear not. In this guide, we’ll delve into the root causes of this problem and explore effective solutions to restore the beauty of your home.
Understanding the Root Cause of Paint Peeling
Before you embark on a mission to fix peeling paint on your bathroom ceiling or walls, it’s crucial to understand why it happens in the first place. The primary culprit is the lack of proper adhesion between the paint and the surface it covers. Let’s break down some key factors contributing to this nuisance.
Main cause of paint crack and surface bubbling ?
The first culprit behind paint bubbling is often the surface itself. Whether it’s a wall or ceiling, failing to prepare it adequately can lead to adhesion issues. Painting over a dirty or greasy surface is a recipe for disaster. Outdoor surfaces may require power washing, while indoor ones need a thorough wipe-down, with extra attention to areas prone to grease and moisture, such as kitchens and bathrooms.
If you’re dealing with an already painted surface, don’t skimp on prep work. Remove all peeling plaster and bubbled paint, and scrape away any cracks or peeled spots. Skipping this step is a shortcut to repeating the same problem
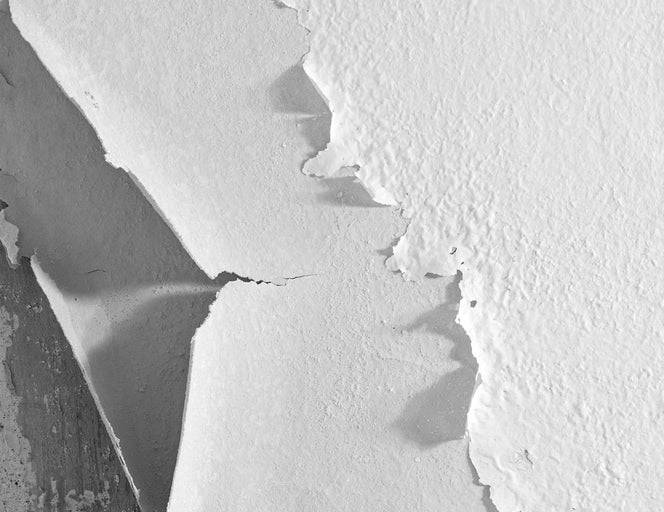
Choosing the wrong color for the paint could cause paint peeling , cracks and bubbles !
Choosing the wrong paint is a classic mistake, especially for DIY enthusiasts. With the vast array of options available, it’s easy to get overwhelmed. However, taking the time to read and understand paint labels can save you from future headaches.
The choice of paint brands matters too. Trusted names like Benjamin Moore and Sherwin Williams offer a wide range of high-quality paints suitable for various applications. Some differences among their products are subtle, but their expertise in producing reliable paints can contribute to a successful and long-lasting paint job. Exterior paints, for instance, are formulated to withstand harsh weather conditions, while interior paints are tailored for gentler indoor environments. Make sure to read labels carefully, and don’t hesitate to seek advice from professionals at your local hardware store.
Loss of paint adhesion and paint does not stick to the drywall or surface
Paint, like many things, doesn’t last forever. Loss of adhesion is a common issue, exacerbated by factors like heat and moisture. Bathrooms, with their steamy showers and constant exposure to water, are particularly susceptible to this problem. Additionally, high humidity in certain regions can contribute to paint bubbling and peeling, especially when combined with other factors.
Being aware of these potential issues empowers you to take preventive measures. Regular maintenance and awareness of your home’s unique conditions can significantly extend the lifespan of your paint job.
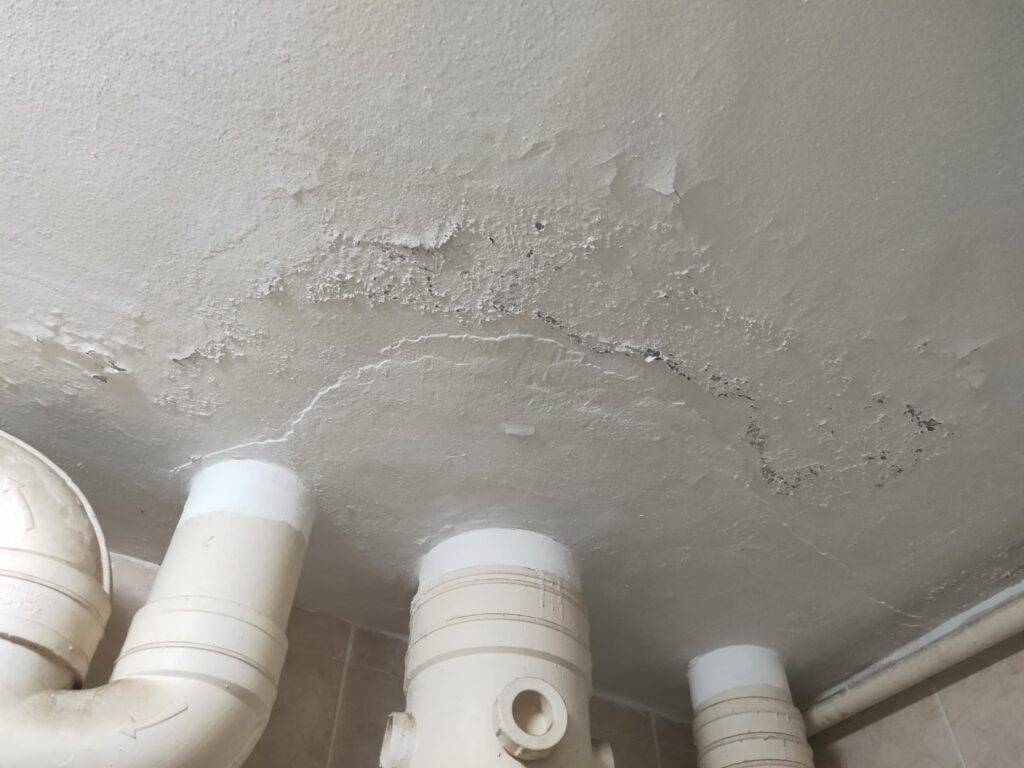
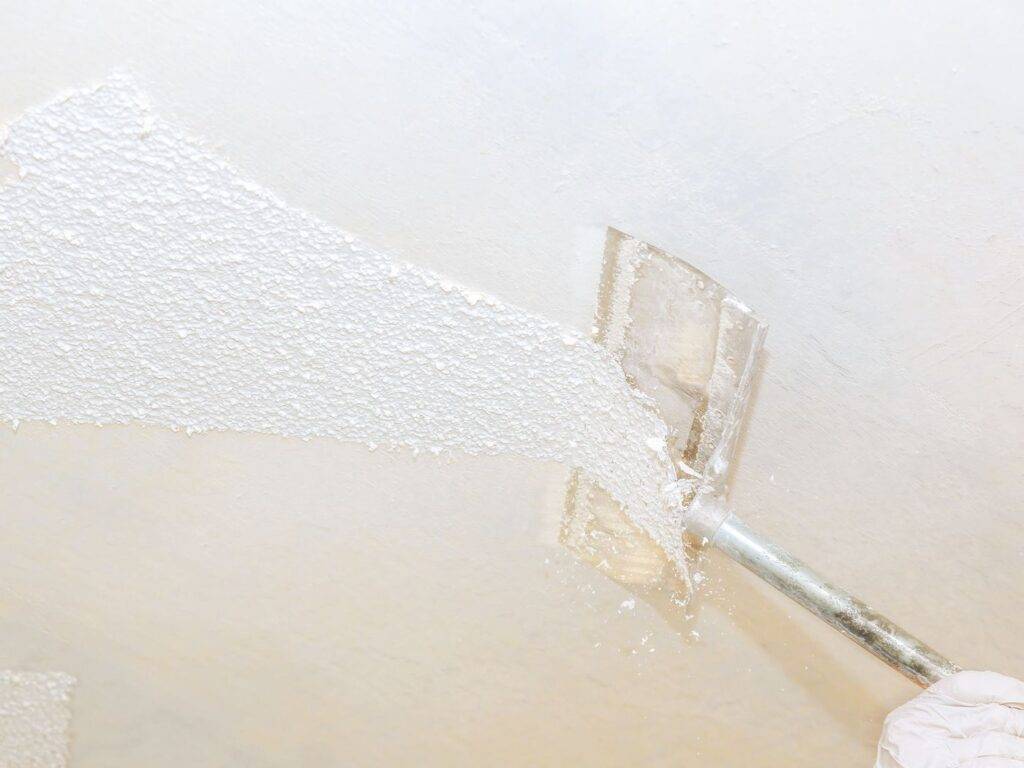
Removing Peeling Paint: A Step-by-Step Guide
If you find yourself faced with peeling paint, fear not; you can take matters into your own hands. Let’s walk through a step-by-step process for tackling this issue and restoring your surfaces to their former glory.
Before Scraping The Paint Protect Your Space
Before you dive into scraping and repainting, take precautions to protect your space. Remove furniture from the room if possible, or cover it with drop sheets. If you can’t move furniture, gather it in the center of the room and shield it with protective coverings. Don’t forget hanging fixtures; cover them to prevent paint splatters.
Safety Before Removing Peeling and Cracking Paint
When dealing with peeling paint, safety should be your top priority. Wear protective eyewear and a mask to shield yourself from debris and harmful fumes. If your home or paint is on the older side, be cautious of lead-based paint. If in doubt, consult a professional for an assessment.
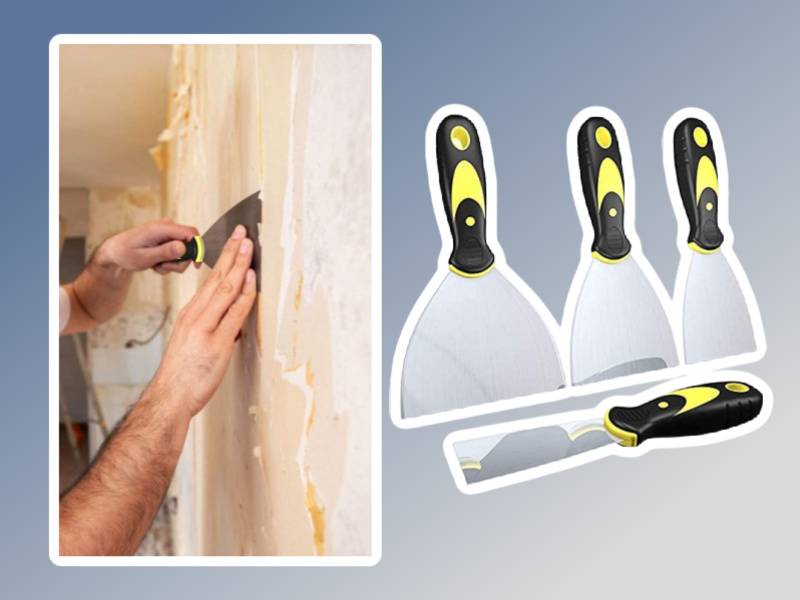
Scrape Away the Old Peeling Paint
Use a putty knife or scraper to remove all the loose, peeling paint. Take your time and try to catch the pieces as you go to minimize cleanup later. Use a trash can or small pan to collect the debris.
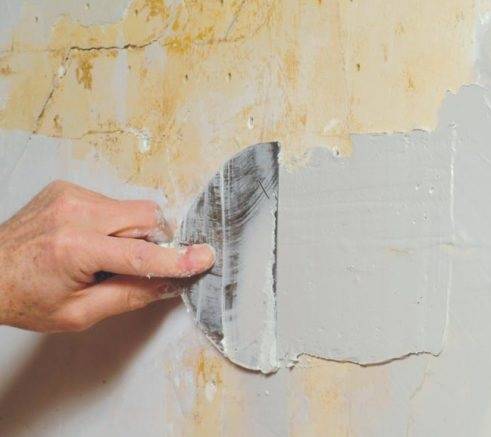
Patch and Plaster Ceiling or Wall Damaged Area
Once you’ve cleared the area, it’s time to patch and plaster. Fill in the scraped-off areas with plaster, ensuring an even application. If necessary, apply a second coat of plaster after the first one has dried.
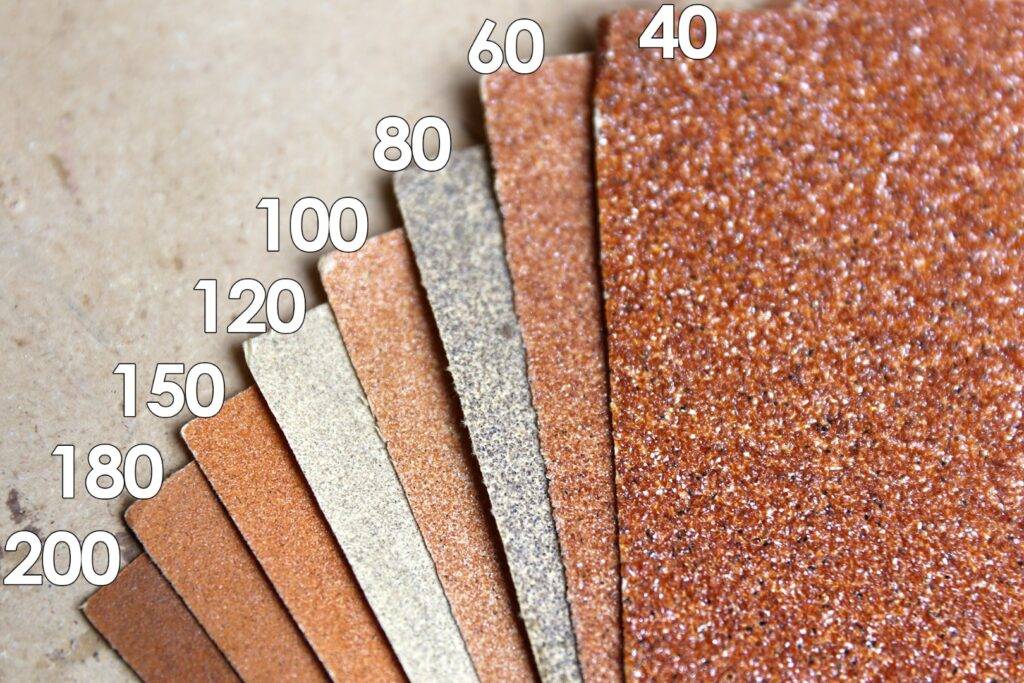
Sand All The Plastered And Imperfect Areas
Smooth out the patched areas by sanding them down. Start with medium-grain sandpaper (150 G) and finish with fine-grain sandpaper (220-240G) for a flawless finish. Pay attention to detail, as imperfections become more apparent once the paint is applied.
Prime The Area For Protection
Priming is crucial for preventing moisture damage, a common cause of peeling plaster ceilings. Ensure you choose the right primer or one specifically designed for extra protection. Benjamin Moore and Sherwin Williams offer excellent primers that can enhance the durability of your paint job. Apply the primer with a paint roller, and use a brush for corners and edges. For plaster ceilings, two layers of primer are recommended, allowing each layer to dry thoroughly.
Freshly Paint The Area
With a primed surface, it’s time to repaint. For a consistent look, repaint the entire ceiling rather than just patching the affected areas. Benjamin Moore and Sherwin Williams also offer a variety of high-quality paints suitable for different surfaces. Use a roller for broad strokes and a small brush for details, edges, and corners. Allow the first coat to dry completely before applying the second.
Once the paint has dried completely, it’s time for the finishing touches. Inspect the painted surface thoroughly, as imperfections can be more visible in natural light. Use a flashlight to spot any blemishes, and touch up as needed.
Professional Painters or DIY?
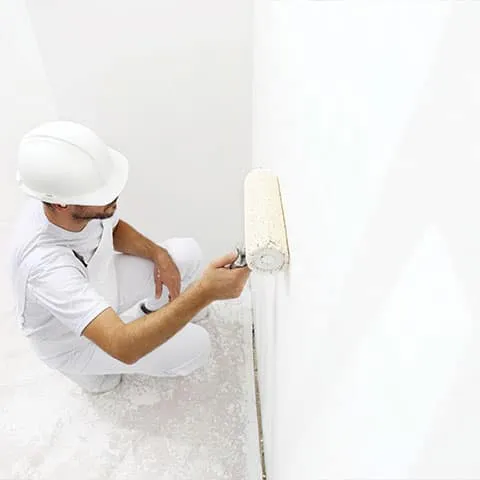
While tackling peeling paint is a manageable DIY project, some may prefer professional assistance. If you’re inexperienced or unsure about taking on the task, hiring a professional, such as Toronto Painting contractors, can ensure a flawless finish.
In conclusion, understanding the root causes of paint bubbling and peeling empowers homeowners to take proactive measures. With the right knowledge and step-by-step approach, you can revive your surfaces and enjoy a paint job that stands the test of time. So, whether you’re a DIY enthusiast or considering professional help, bid farewell to peeling paint and welcome a rejuvenated home.

